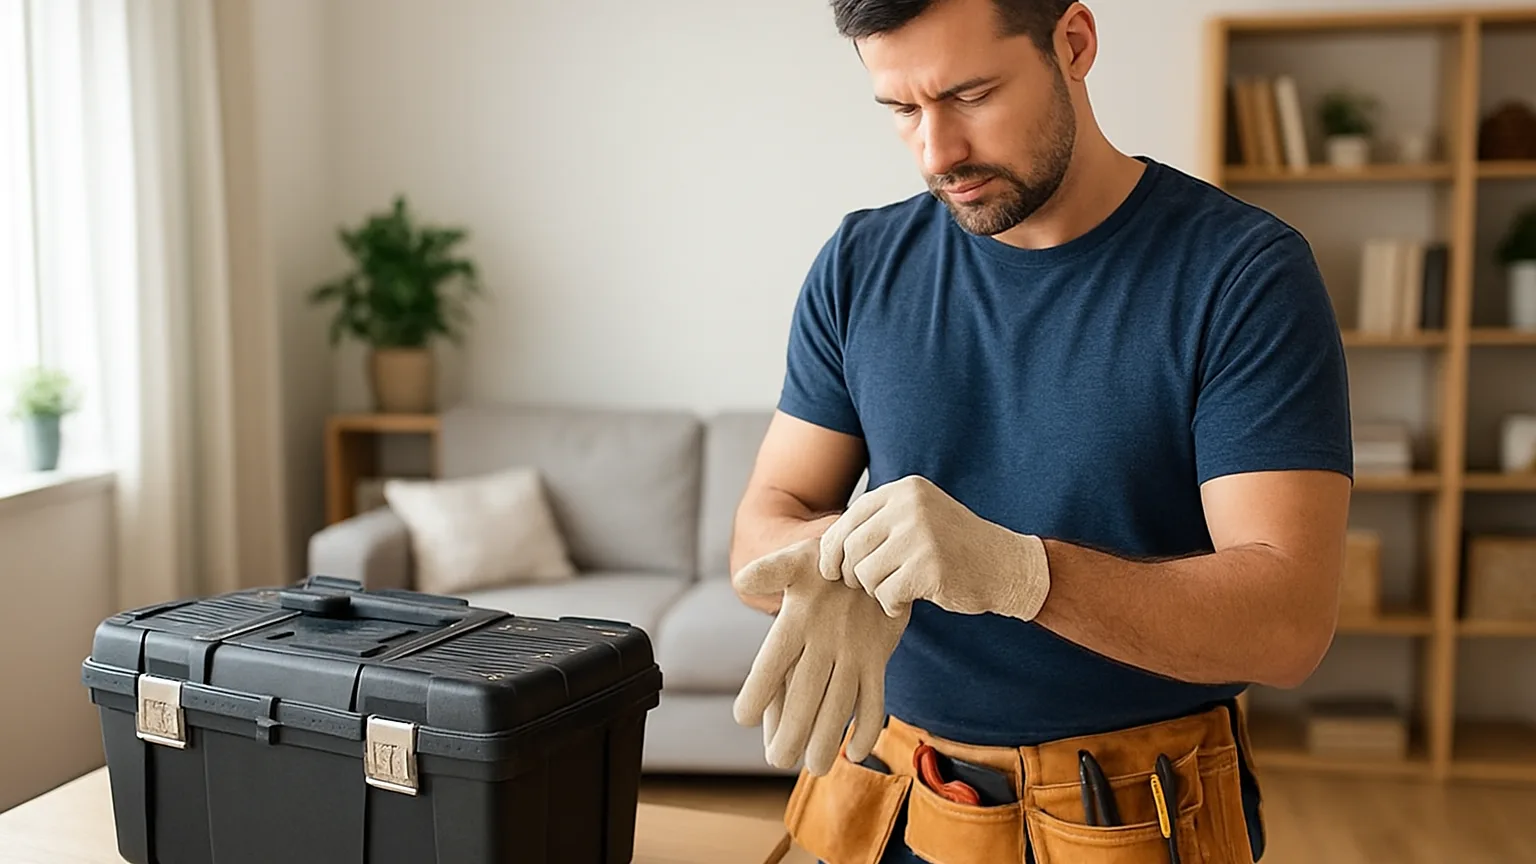
Somewhere in every garage or shed sits a stack of patio furniture that has seen better days. Maybe the bolts are loose, the paint is peeling, or the whole set has just been sitting there since last summer waiting for someone to care about it again. That someone could be your kid.
Assembling and refinishing patio furniture is one of those rare summer projects that checks every box. It teaches patience, gives a real sense of accomplishment, and ends with something the whole family actually uses. Unlike a lot of chores, this one has a visible before and after, which matters a lot to a kid who wants proof that their effort meant something.
This project pairs nicely with other small home fixes kids can tackle over break, like the ideas covered in this piece on giving old patio chairs new life. But here we are going a step further, walking through both the building and the finishing side of the job, from tightening the first bolt to wiping down the last coat of stain.
Why This Job Fits Kids So Well
Patio furniture is forgiving. If a screw goes in a little crooked or a coat of paint is thicker in one spot, nobody is going to notice from three feet away, and nothing about the structure is ruined. That low-pressure setup is exactly what makes it a smart training ground for real tools and real responsibility.
It also happens outdoors, away from carpets and furniture that could get scratched or stained. Spills, sawdust, and paint drips are part of the process, and a driveway or patio slab handles all of it without anyone panicking.
- Furniture pieces are usually simple shapes, easy for kids to understand visually
- Most assembly uses basic hand tools instead of power tools
- Mistakes are easy to fix or sand out
- The finished product gets used right away, which keeps motivation high
Getting Ready Before the Toolbox Comes Out
A little planning before the first screw goes in saves a lot of frustration later. Spread everything out on a tarp or old sheet so parts do not roll away or get lost in the grass. Sort screws, bolts, and brackets into small cups or an old muffin tin. This step alone teaches organization skills that carry over into every future project.
Take a few minutes to read through the assembly instructions together if the furniture came with any, or look up the general shape of the finished piece if it is an older set being rebuilt from scratch. Kids do better when they can picture the end result before they start turning screws.
What to Gather Before Starting
- Screwdrivers in both sizes, flathead and Phillips
- An adjustable wrench for bolts
- Sandpaper in medium and fine grit
- Rags, drop cloths, or old newspaper
- Safety glasses and a pair of work gloves sized for smaller hands
This is also a good moment to talk about which tools are kid-only and which ones need a parent nearby. A screwdriver is fine solo territory for most kids seven and up. A drill or power sander should stay a shared job, at least until the basics are second nature. This same kind of tool sorting shows up in other simple house fixes built for summer break, and it is worth repeating the habit here so it sticks.
Setting Up a Workspace That Makes Sense
Pick a flat, shaded spot with good airflow, since paint fumes and dust travel further than people expect. A garage with the door open or a covered patio both work well. Keep water nearby, both for cleanup and for staying cool if the project runs into the afternoon heat.
Putting the Pieces Together the Right Way
Assembly day is where the project starts to feel real. Start with the biggest, most stable pieces first, like the seat frame or table legs, before adding smaller parts like arm rests or slats. Building from the ground up keeps everything steady and prevents that wobbly, frustrating moment where a half-built chair tips over.
Encourage kids to hand-tighten every screw first, going around the whole piece once, before fully tightening anything. This way, if a panel needs to shift slightly to line up correctly, it still can. Once everything sits right, go back around and snug each screw down for good.
A Simple Order That Works for Most Furniture
- Attach the base or leg frame first
- Add the seat or tabletop surface
- Connect side rails, arms, or backrests
- Check for wobble on a flat surface before final tightening
- Add any hardware, hinges, or folding mechanisms last
“The biggest mistake I see with furniture assembly, kids or adults, is rushing the tightening step and skipping the check for square corners,” says Marcus Delgado, lead specialist at Handy Squad Handyman. “A piece that goes together straight the first time lasts years longer than one that gets forced into place.”
That advice applies just as much to a dining chair as it does to a full outdoor kitchen build, the kind of larger project covered in this guide to building outdoor kitchens that actually get used. Precision now saves headaches later, no matter the size of the job.
Handling the Tricky Spots
Some furniture has stubborn joints or pre-drilled holes that do not quite line up. Rather than forcing a screw, back it out, check the angle, and try again slightly adjusted. This teaches patience better than almost anything else in the project, and it is a normal part of the process, not a sign anything went wrong.
Sanding, Staining, and Bringing Back the Color
Once everything is assembled and sturdy, the fun part usually begins, at least according to most kids. Refinishing turns a plain or faded piece into something with personality, and it is the step where creativity gets to take over from mechanics.
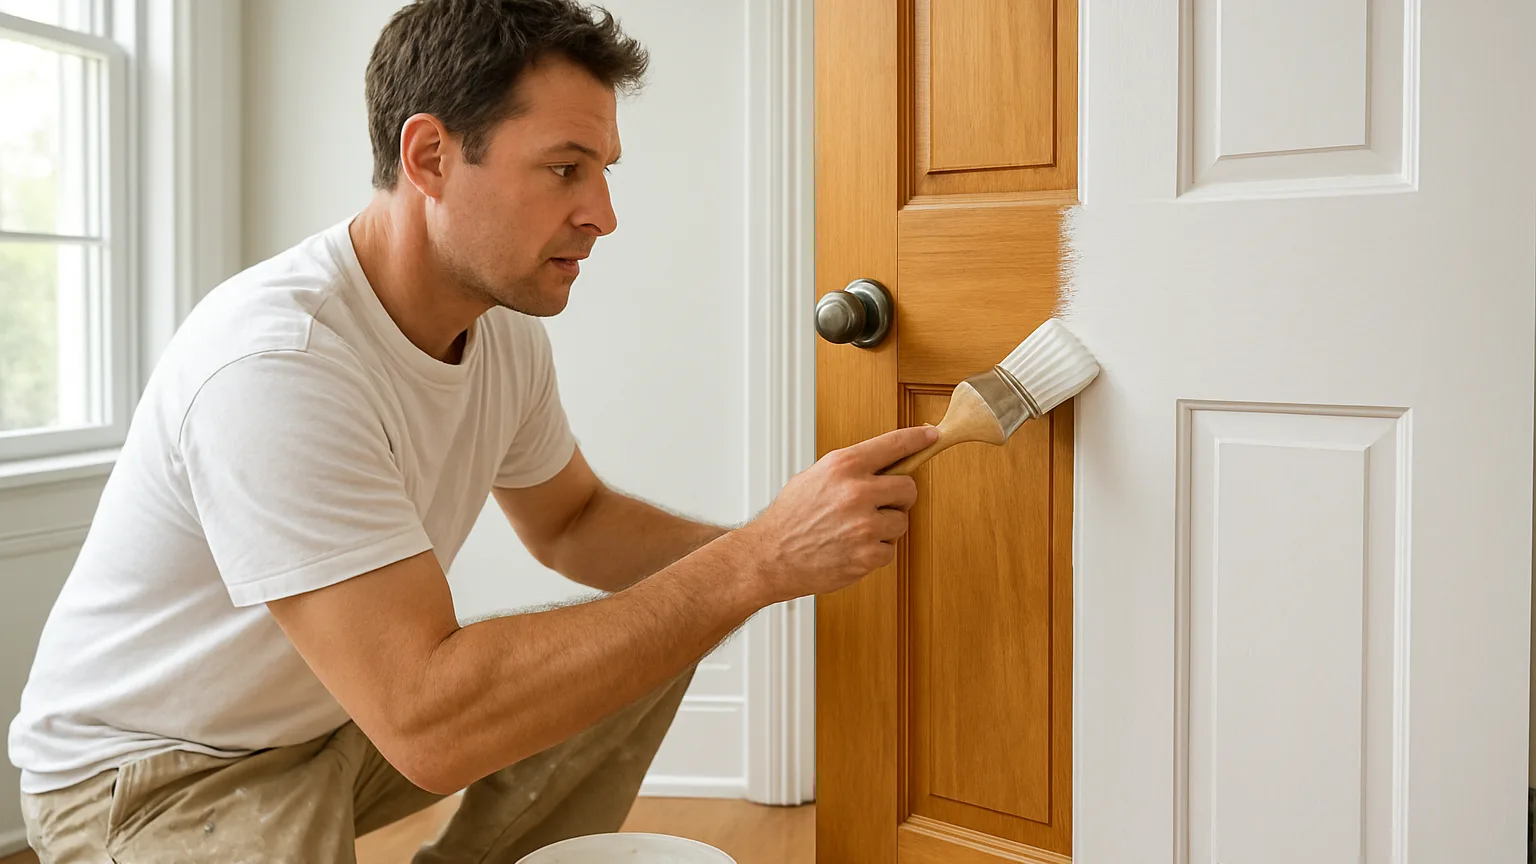
Start with sanding. Medium grit paper handles rough patches, old paint, or splintered wood, while fine grit smooths everything out before any color goes on. Sanding by hand is slower than using a power sander, but it gives kids full control and keeps the noise level down, which matters if this is happening early on a Saturday.
Choosing a Finish That Fits the Furniture
- Outdoor-rated paint works well for a bold color change on wood or metal
- Wood stain brings out natural grain and needs less maintenance over time
- Clear sealant protects color underneath from sun and rain
- Spray paint is fast but should stay in adult-supervised hands due to fumes and overspray
Let kids test their color choice on a hidden spot first, like the underside of a seat, before committing to the whole piece. This avoids disappointment if a color looks different once it dries compared to how it looked in the can.
Letting It Cure Properly
Patience matters just as much here as it did during assembly. Most stains and paints need a full day, sometimes two, before the furniture should hold any weight or get rained on. Set a reminder together so nobody sits on a fresh coat by accident. This waiting period is also a good time to talk about how outdoor materials hold up over a full season, similar to the weather considerations behind designing outdoor spaces built to last.
What This Summer Project Really Builds
By the time the last coat dries and the furniture gets carried back out to the patio, a kid has practiced measuring, tightening, sanding, color mixing, and following a process from start to finish without giving up halfway through. Those are not small skills. They show up again in school projects, first jobs, and eventually their own homes someday.
More than anything, a rebuilt patio set gives a kid something to point to and say “I did that.” It sits right there in the backyard all summer, holding up drinks and snacks and lazy afternoons, as proof that a little effort with a screwdriver and a paintbrush can turn something tired into something worth sitting on again.
Related reading: The Filter Detective Club: A Kid's Summer HVAC Mission.